Deploy your First Flow
Quick start guide to deploying your first flow on Nara.
Project Page
Let's open and deploy your first flow on Nara!
Note
Your project page may look different depending on the version of Nara and your previous projects. If this is your first time running Nara, you will not see the Recent Projects section.
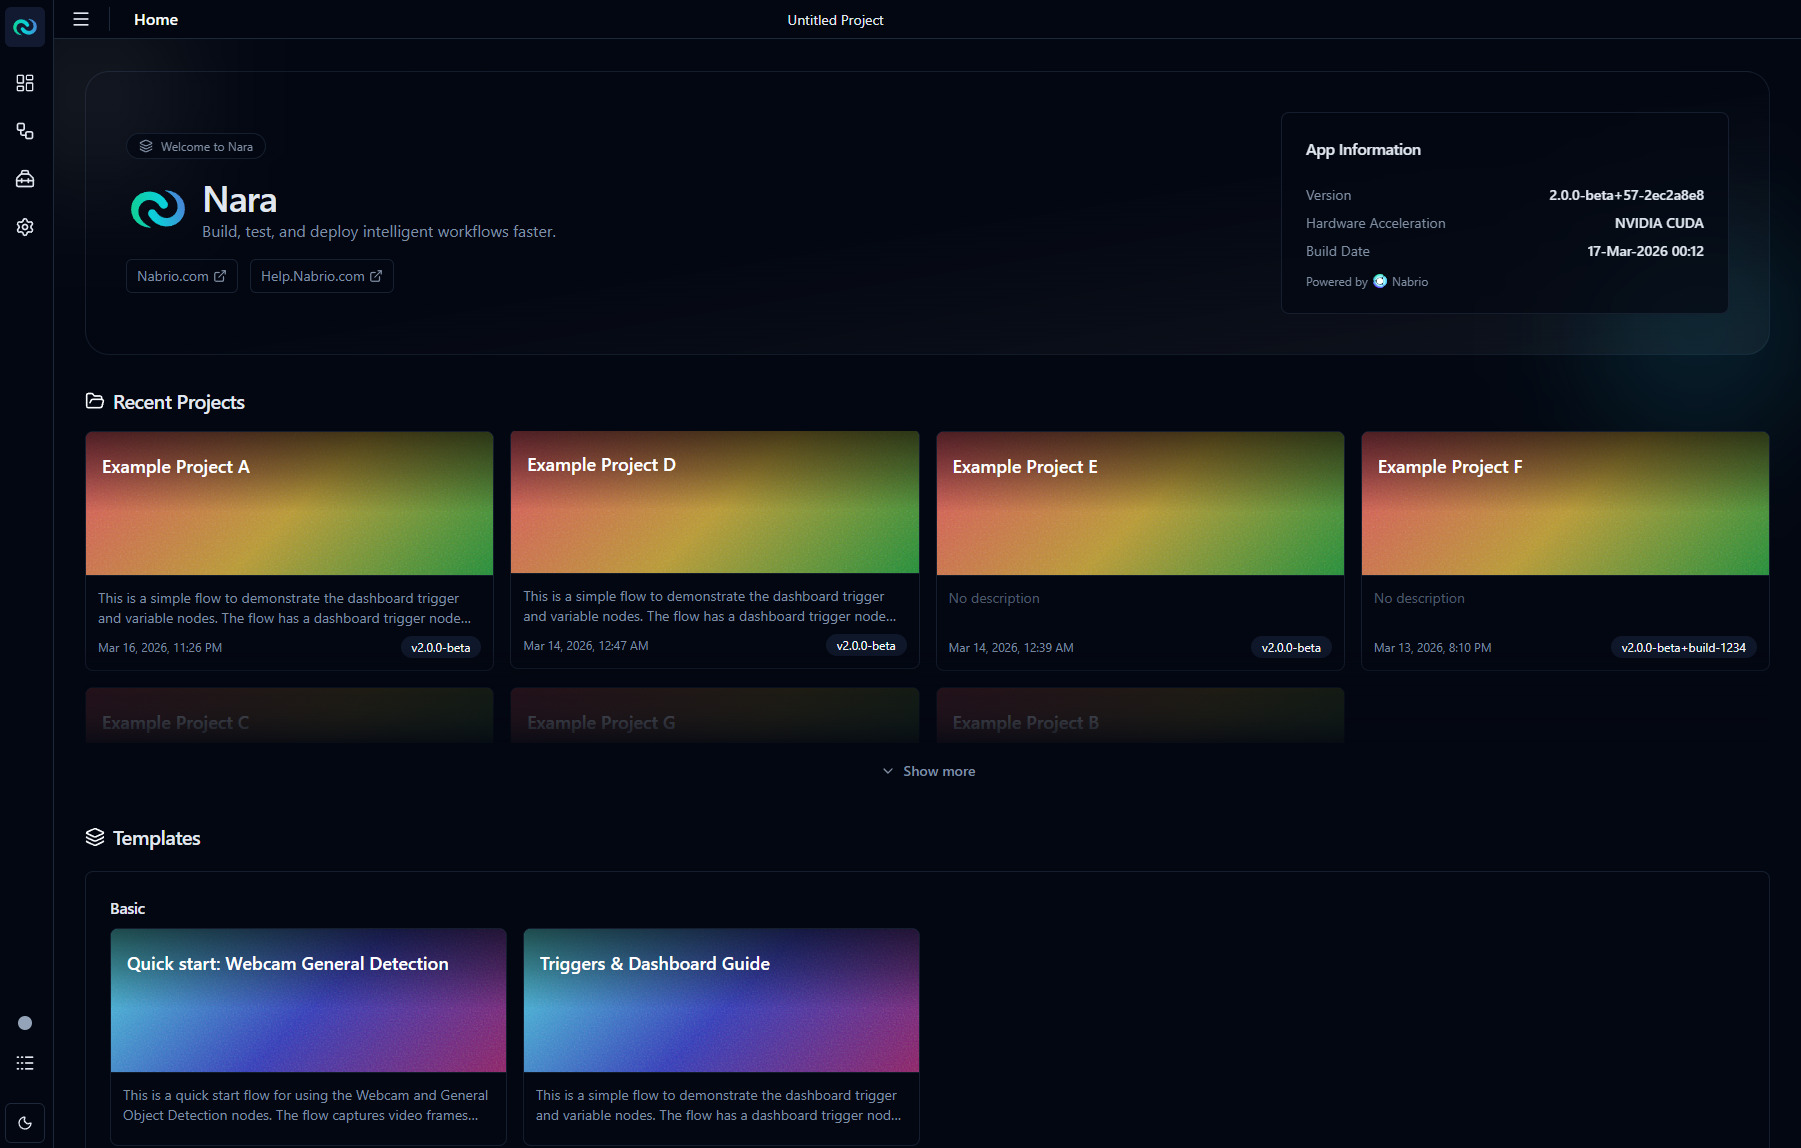
In your Project page, you will find Nara info (version, hardware acceleration, etc.), a list of your recent projects, and templates to quickly get you started.
Under the Template section you should see a sample flow called Quick start: Webcam General Detection.
- Click on the card and click
Open Projectto open the flow. - Nara redirects you to the flow page.
Note
For this sample flow, you will need to have a webcam connected to your device.
If you don't have a webcam connected, don't worry! You can still follow along with the guide, and you can modify the flow to use a video file in the next section!
Deploy the Flow
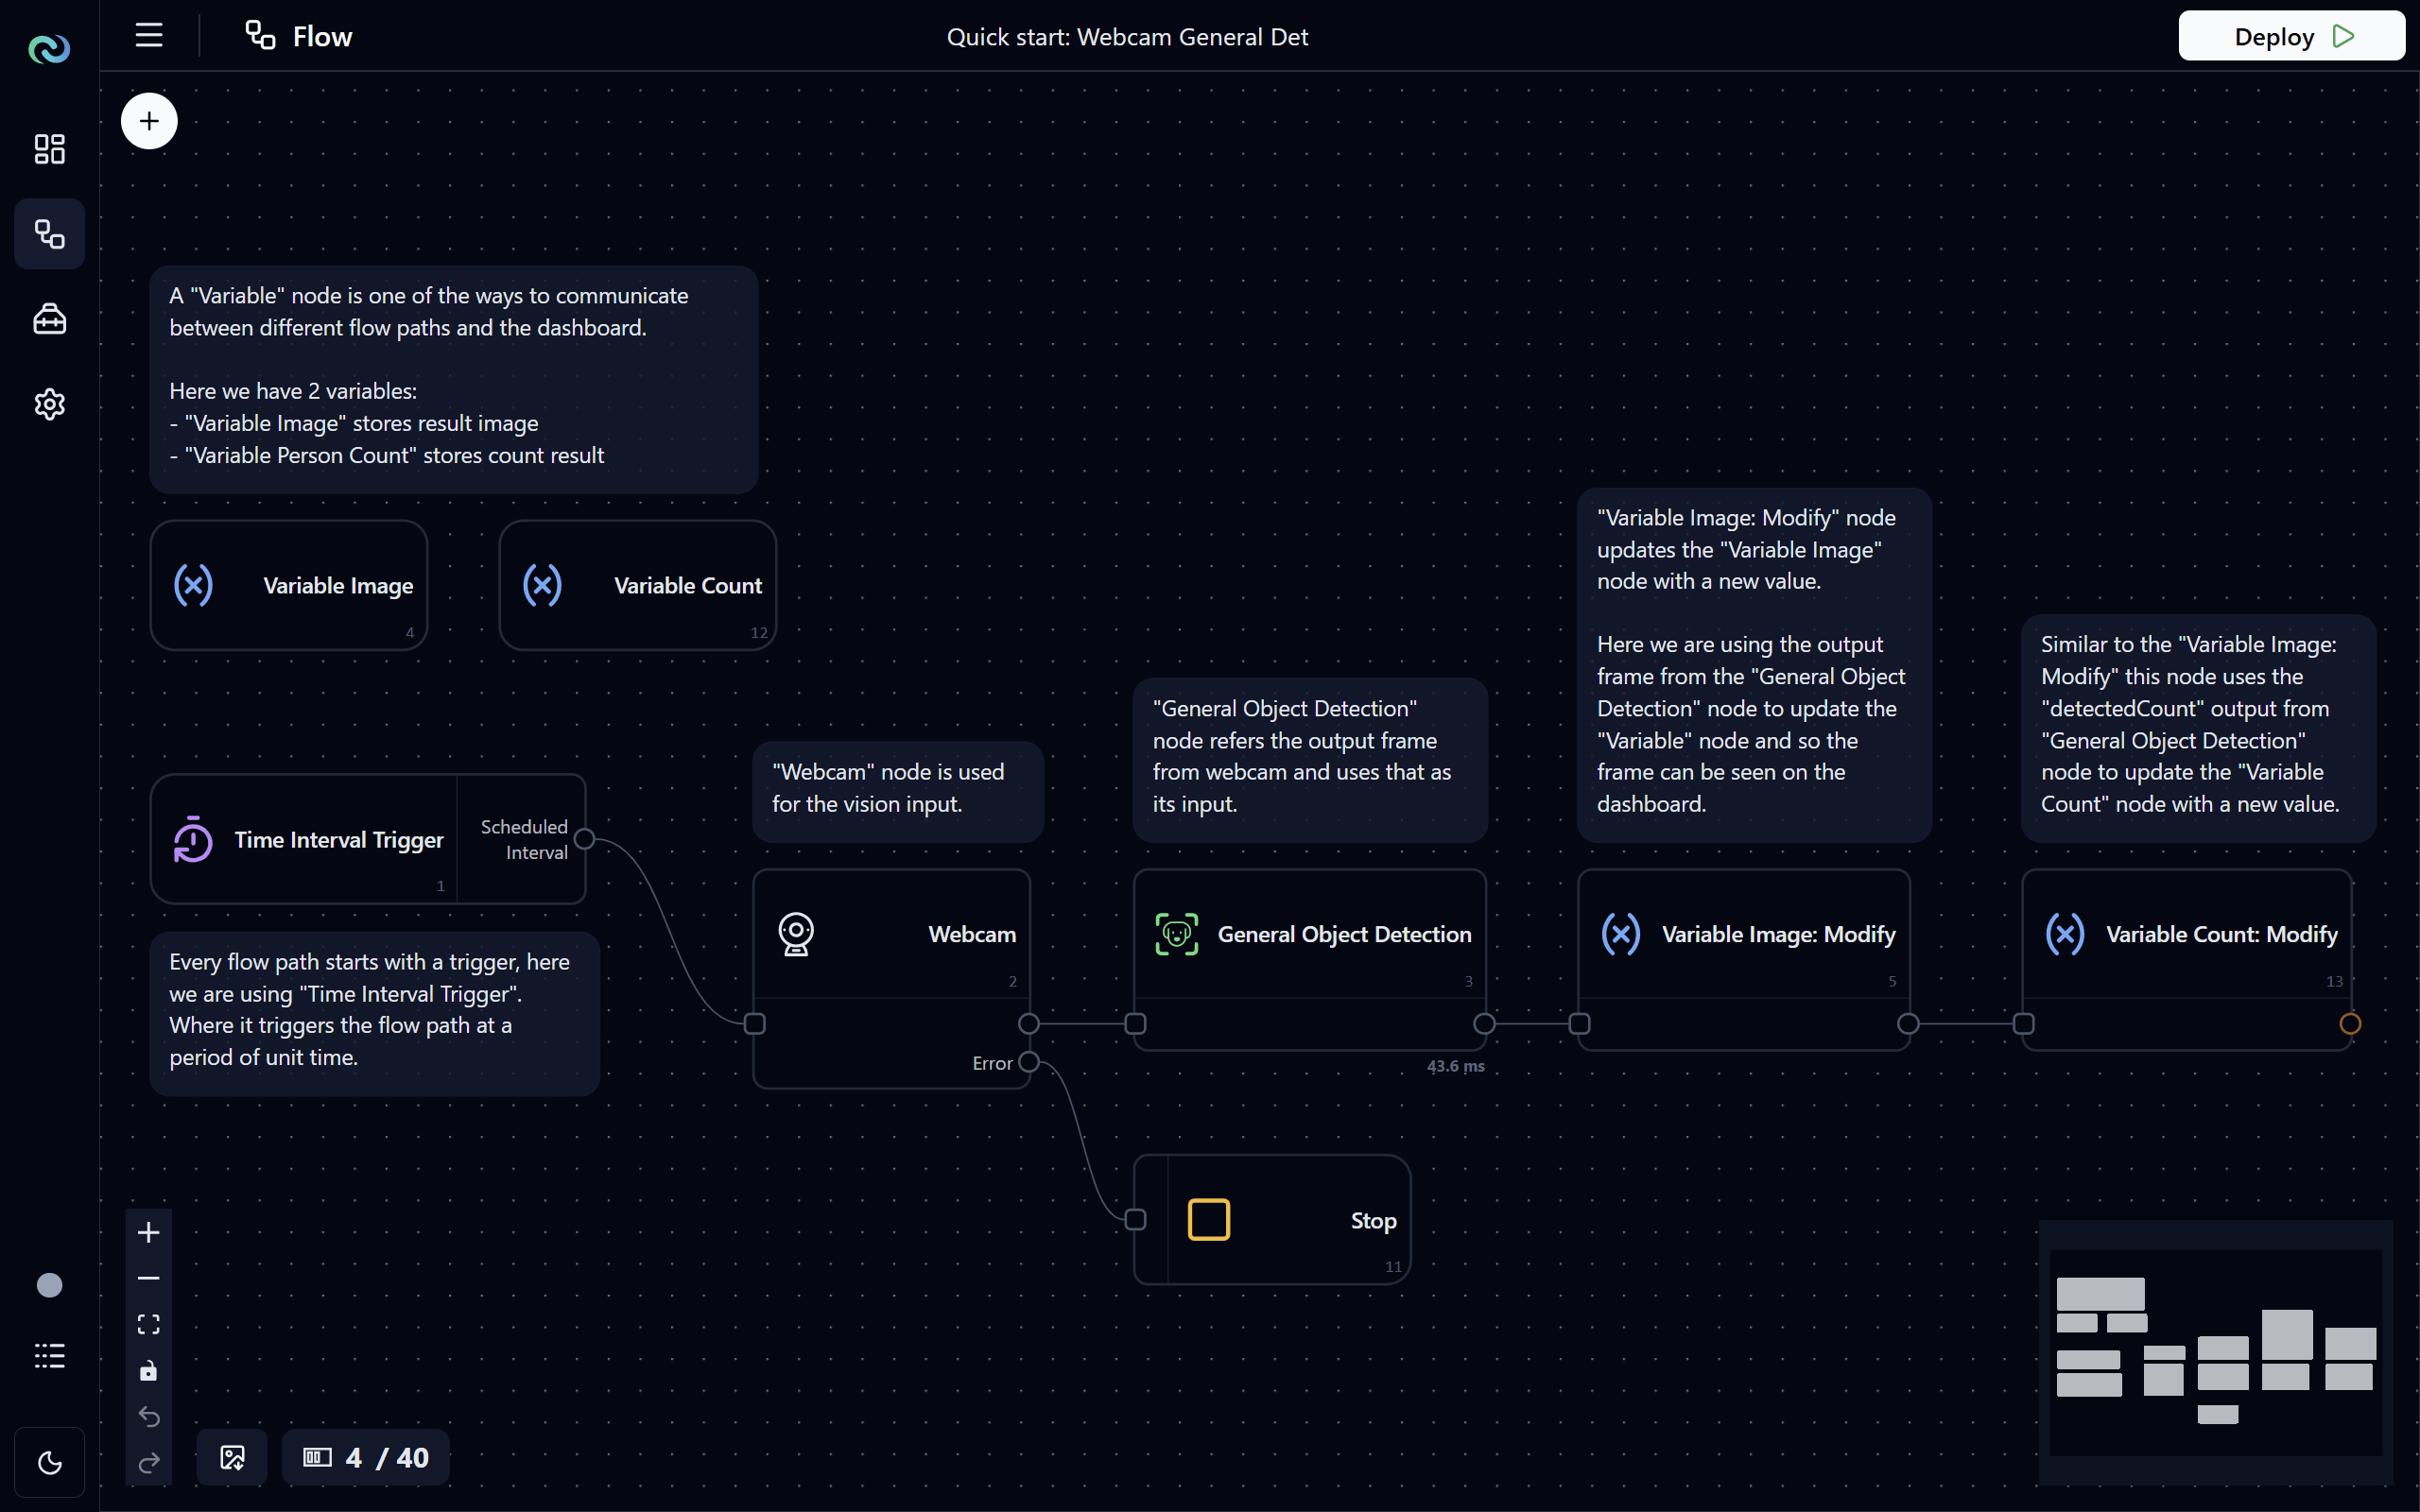
Flow is a visual representation of your application's logic, where you can create and connect different nodes to define the data flow and processing steps. You can see that it consists of several nodes chained together in the order of execution. On a node, the inputs are on the left and outputs are on the right, and the execution and data flow from left to right.
For this example, every 50 milliseconds this flow path gets trigger and takes the webcam input, performs object detection on the image frame from the webcam, and passes the detected objects data to the variable nodes (Variable: Image and Variable: Count) which is linked to the dashboard widget displaying the result in real-time.
To deploy the flow, click on the Deploy () button in the top-right corner of the page. Once the flow is deployed, the button will change to a Stop () button which you can click to stop the flow.
View the Dashboard
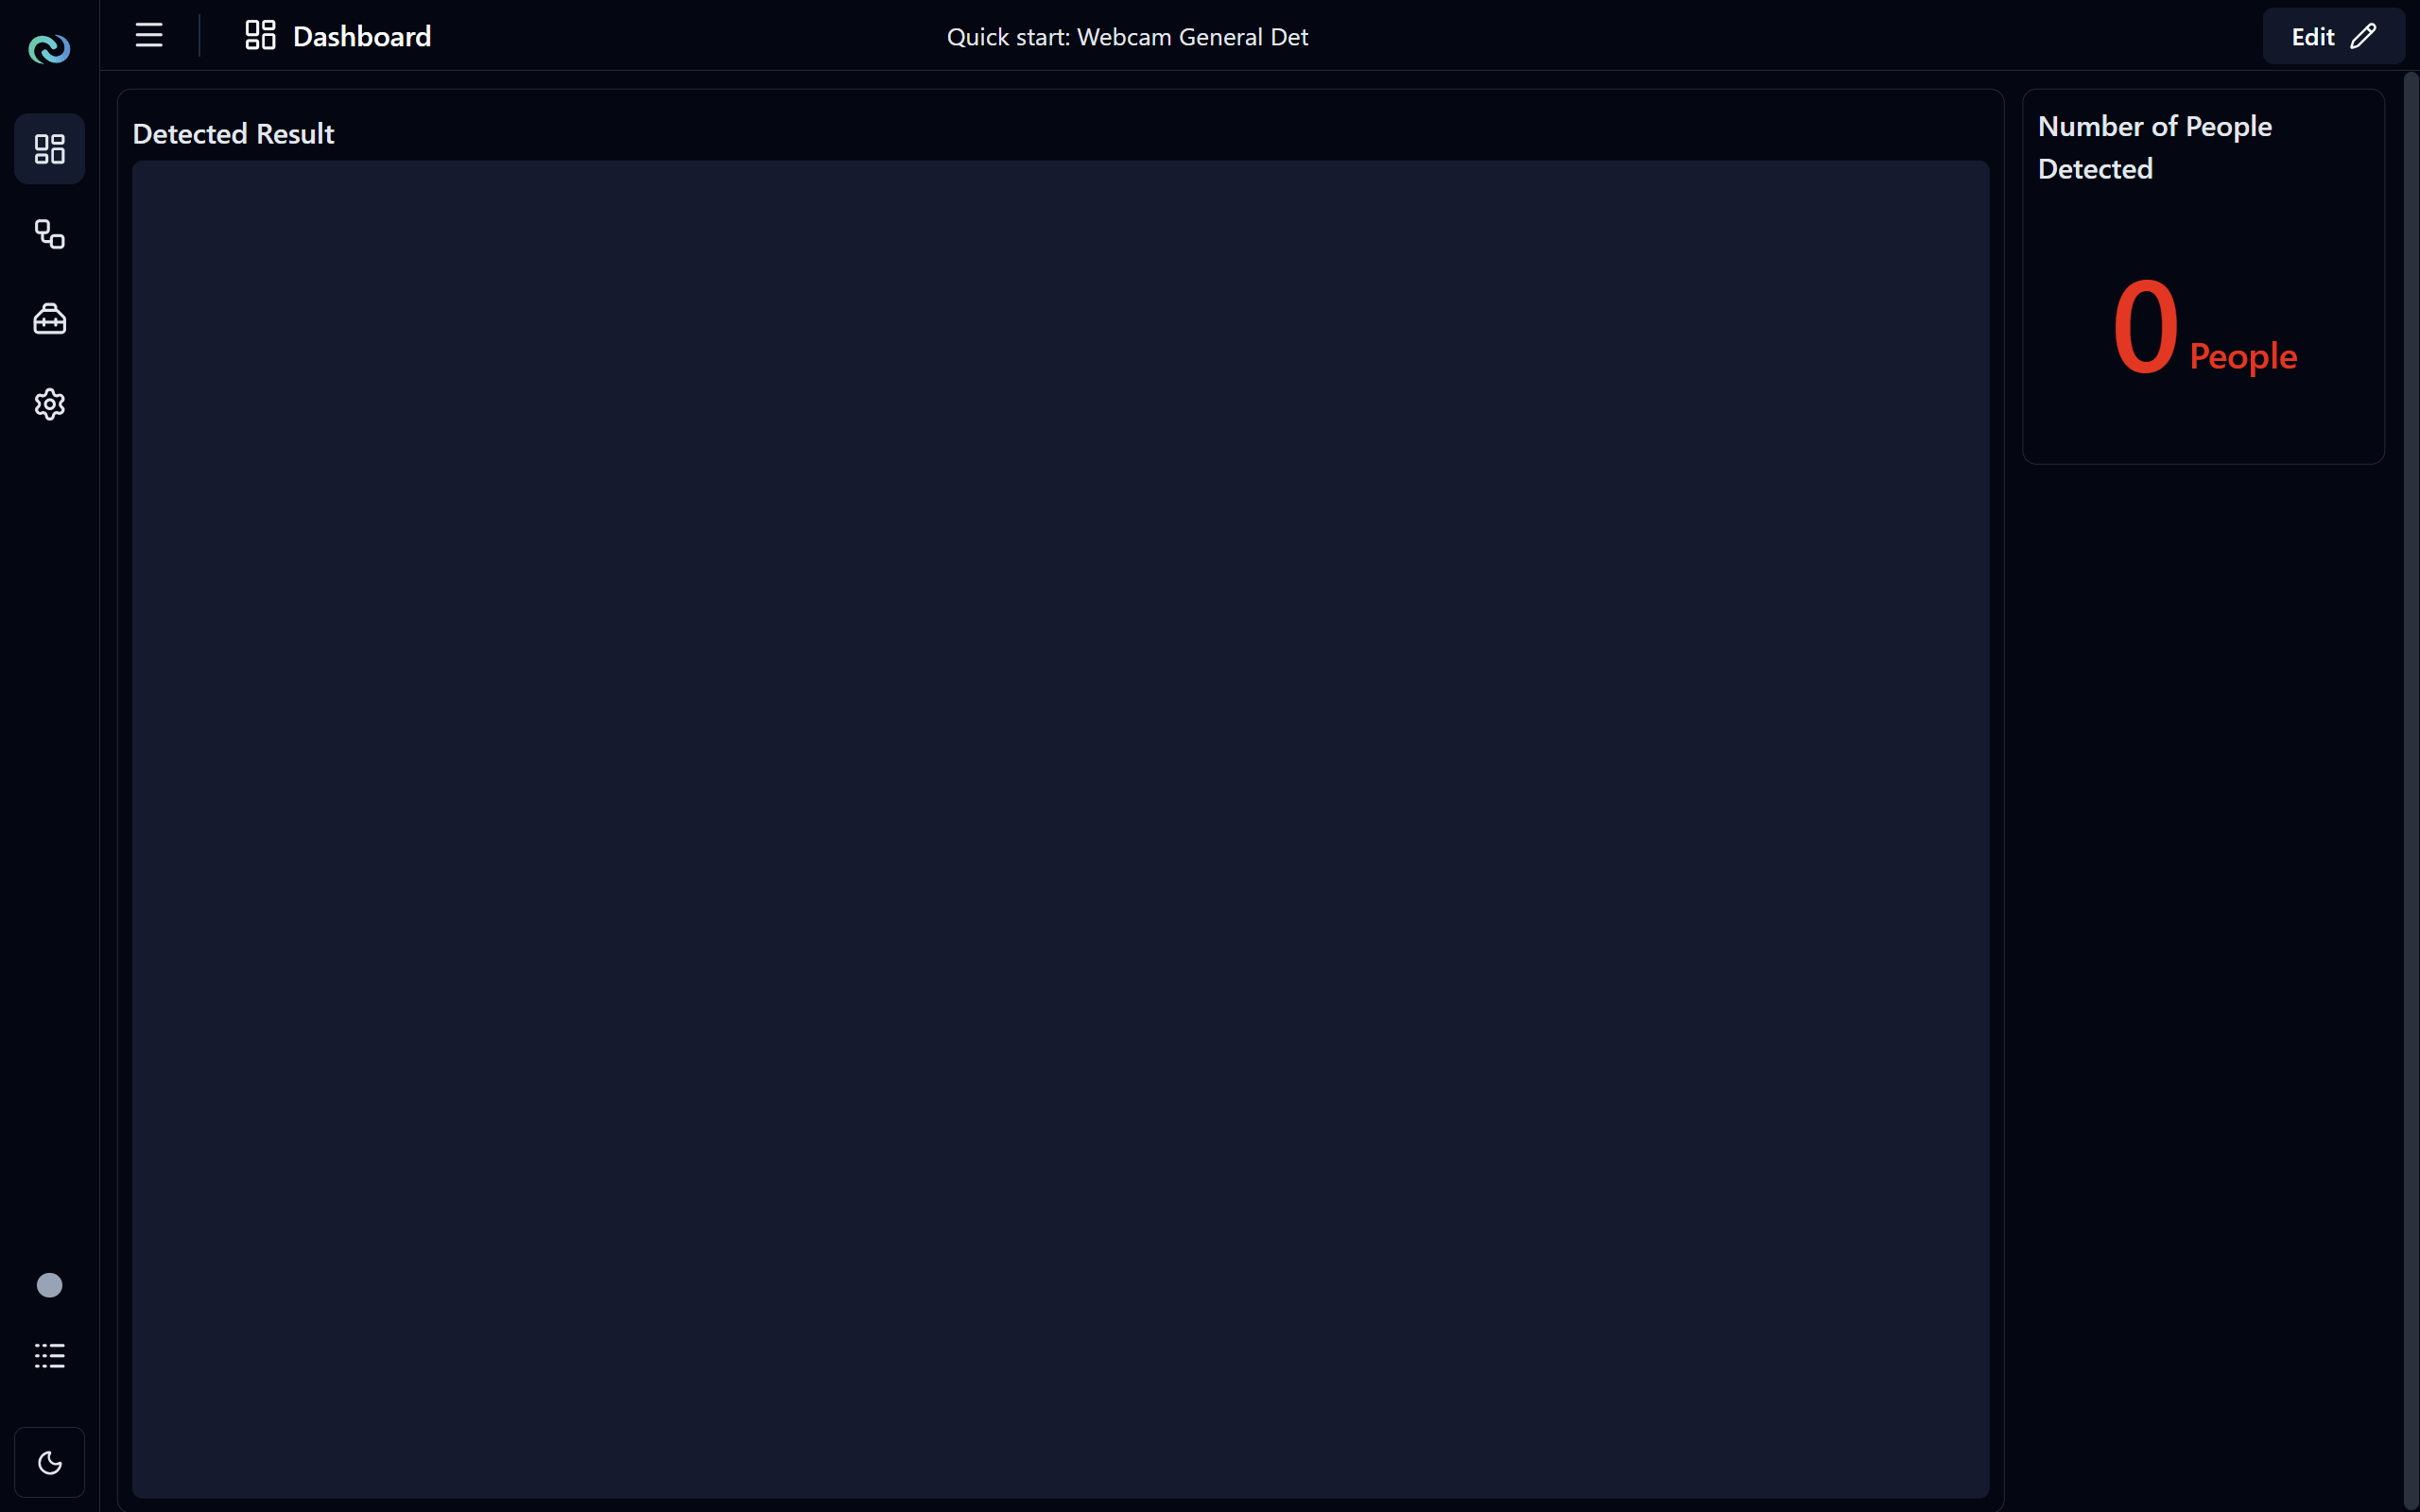
Navigate to the dashboard page by clicking on the Dashboard icon on the navigation bar.
Here you can see:
Image Framewidget (shown as "Detected Result") showing the result of the detected objects overlaying on the frame from the webcam in real-time.Basic Displaywidget (shown as "Number of People Detected") showing the count of the detected objects (in this case people) in real-time. Note that for this widget we have configured it to display in green color when the count is above 0, and in red color when the count is equal to 0.