Dashboard Page
Learn how dashboard works and how to use it to monitor your flows.
Dashboard
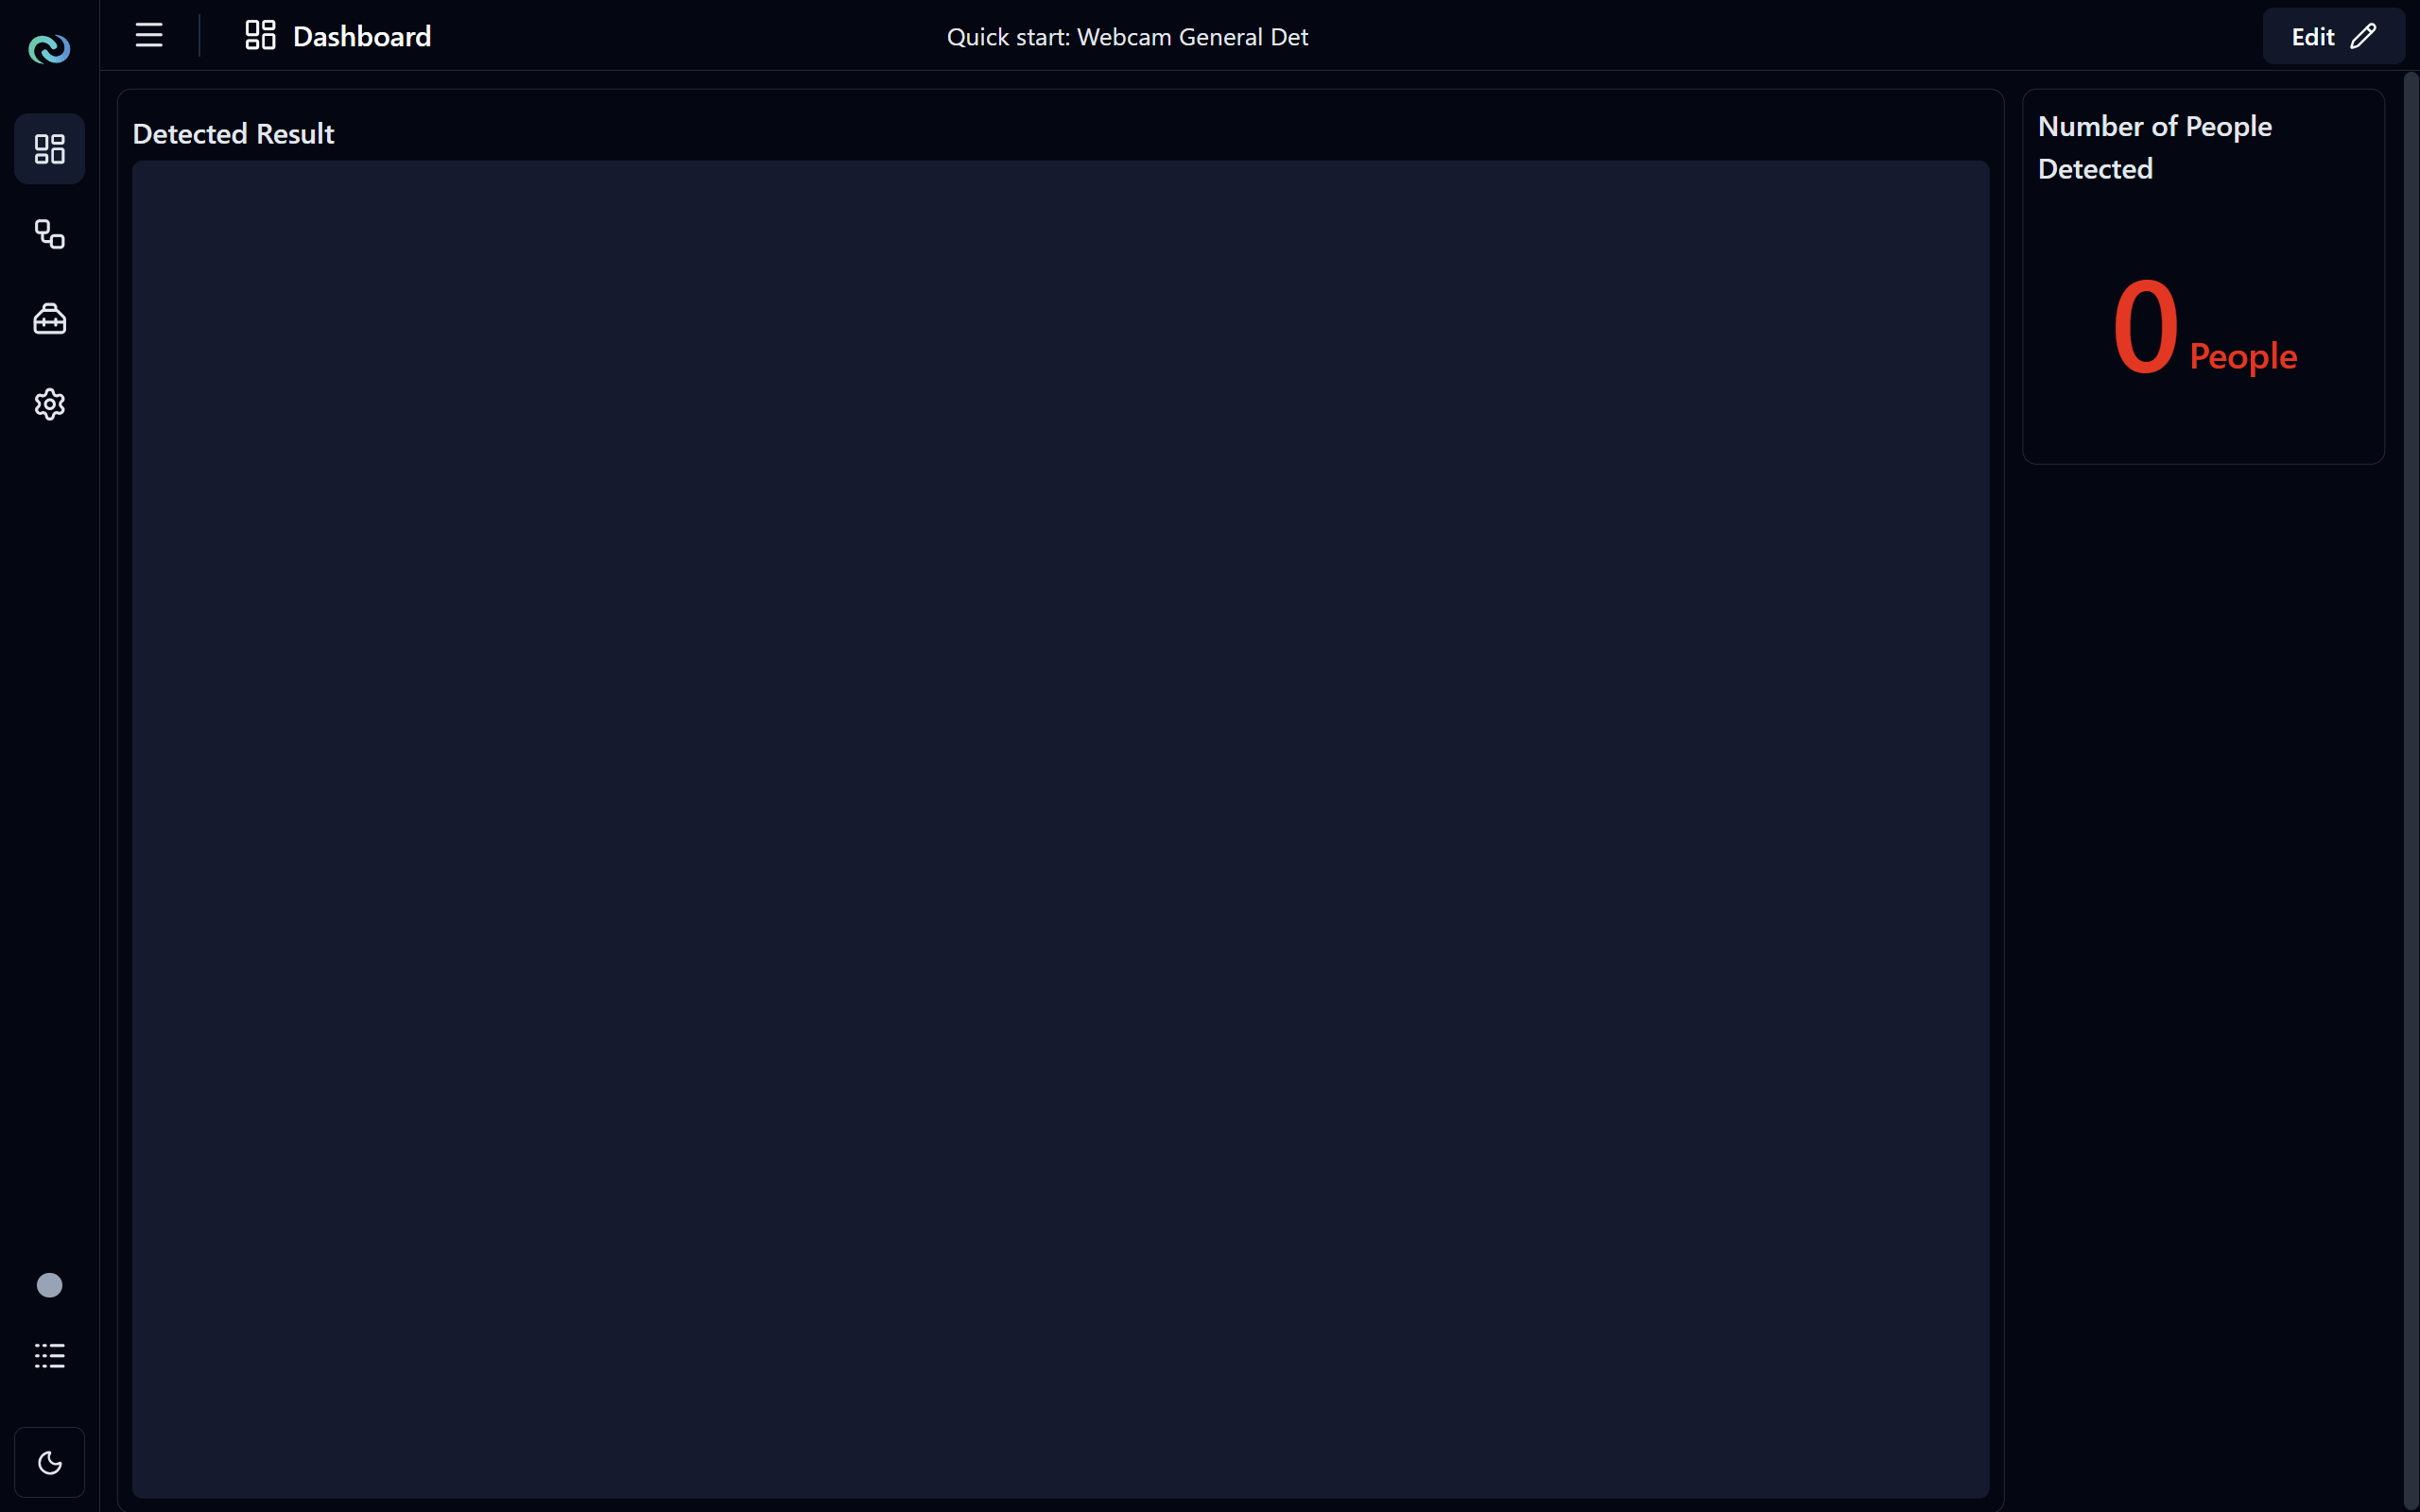
The dashboard page is where you can customize your dashboard with different widgets to monitor and visualize the data in your flows. You can add widgets to display images, numbers, text, charts, tables, and more. You can also customize the layout of the dashboard by rearranging the widgets and resizing them.
Edit Mode
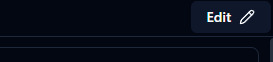
Click the Edit button on the top-right of the page to enter the dashboard edit mode, where you can add, remove, and rearrange widgets on your dashboard.
Widget Selector

On the right side of the dashboard, you will find the widget selector, where you can choose from a variety of widgets to add to your dashboard. Simply drag and drop the widget you want to add to the dashboard area. You can also search for specific widgets using the search bar at the top of the widget selector.
Editing a Widget
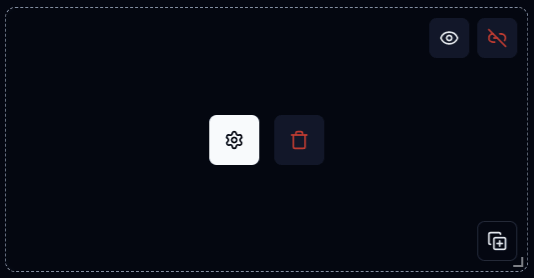
When hovering over a widget in edit mode, you will see the following:
- Widget Options: Click to open the widget options panel, where you can configure the widget settings, such as the data source, display options, etc.
- Delete Widget: Click to delete the widget from the dashboard.
- Visibility Toggle: Only some widgets have this option. Click to toggle the visibility of the widget on the dashboard.
- : the widget is hidden in view mode, but you can still see the widget in edit mode.
- : the widget is visible in all modes.
- Unlinked Widget: If the widget has this indicator, it means that the widget is not linked to any data source. To link to the data source, click on the widget options and select the data source for the widget. Note that some widgets are not required or cannot be linked to a data source.
- Duplicate Widget: Click to create a duplicate of the widget with the same configuration.
- ⠀⠀ Resize Widget: On the bottom right of the widget. Click and drag from the bottom-right corner of the widget to resize the widget. The cursor will change to which indicates that you can resize the widget.
To move the widget, click and drag from anywhere on the widget to move it around the dashboard. To resize the widget, click and drag from the bottom-right corner of the widget.
Widget Options
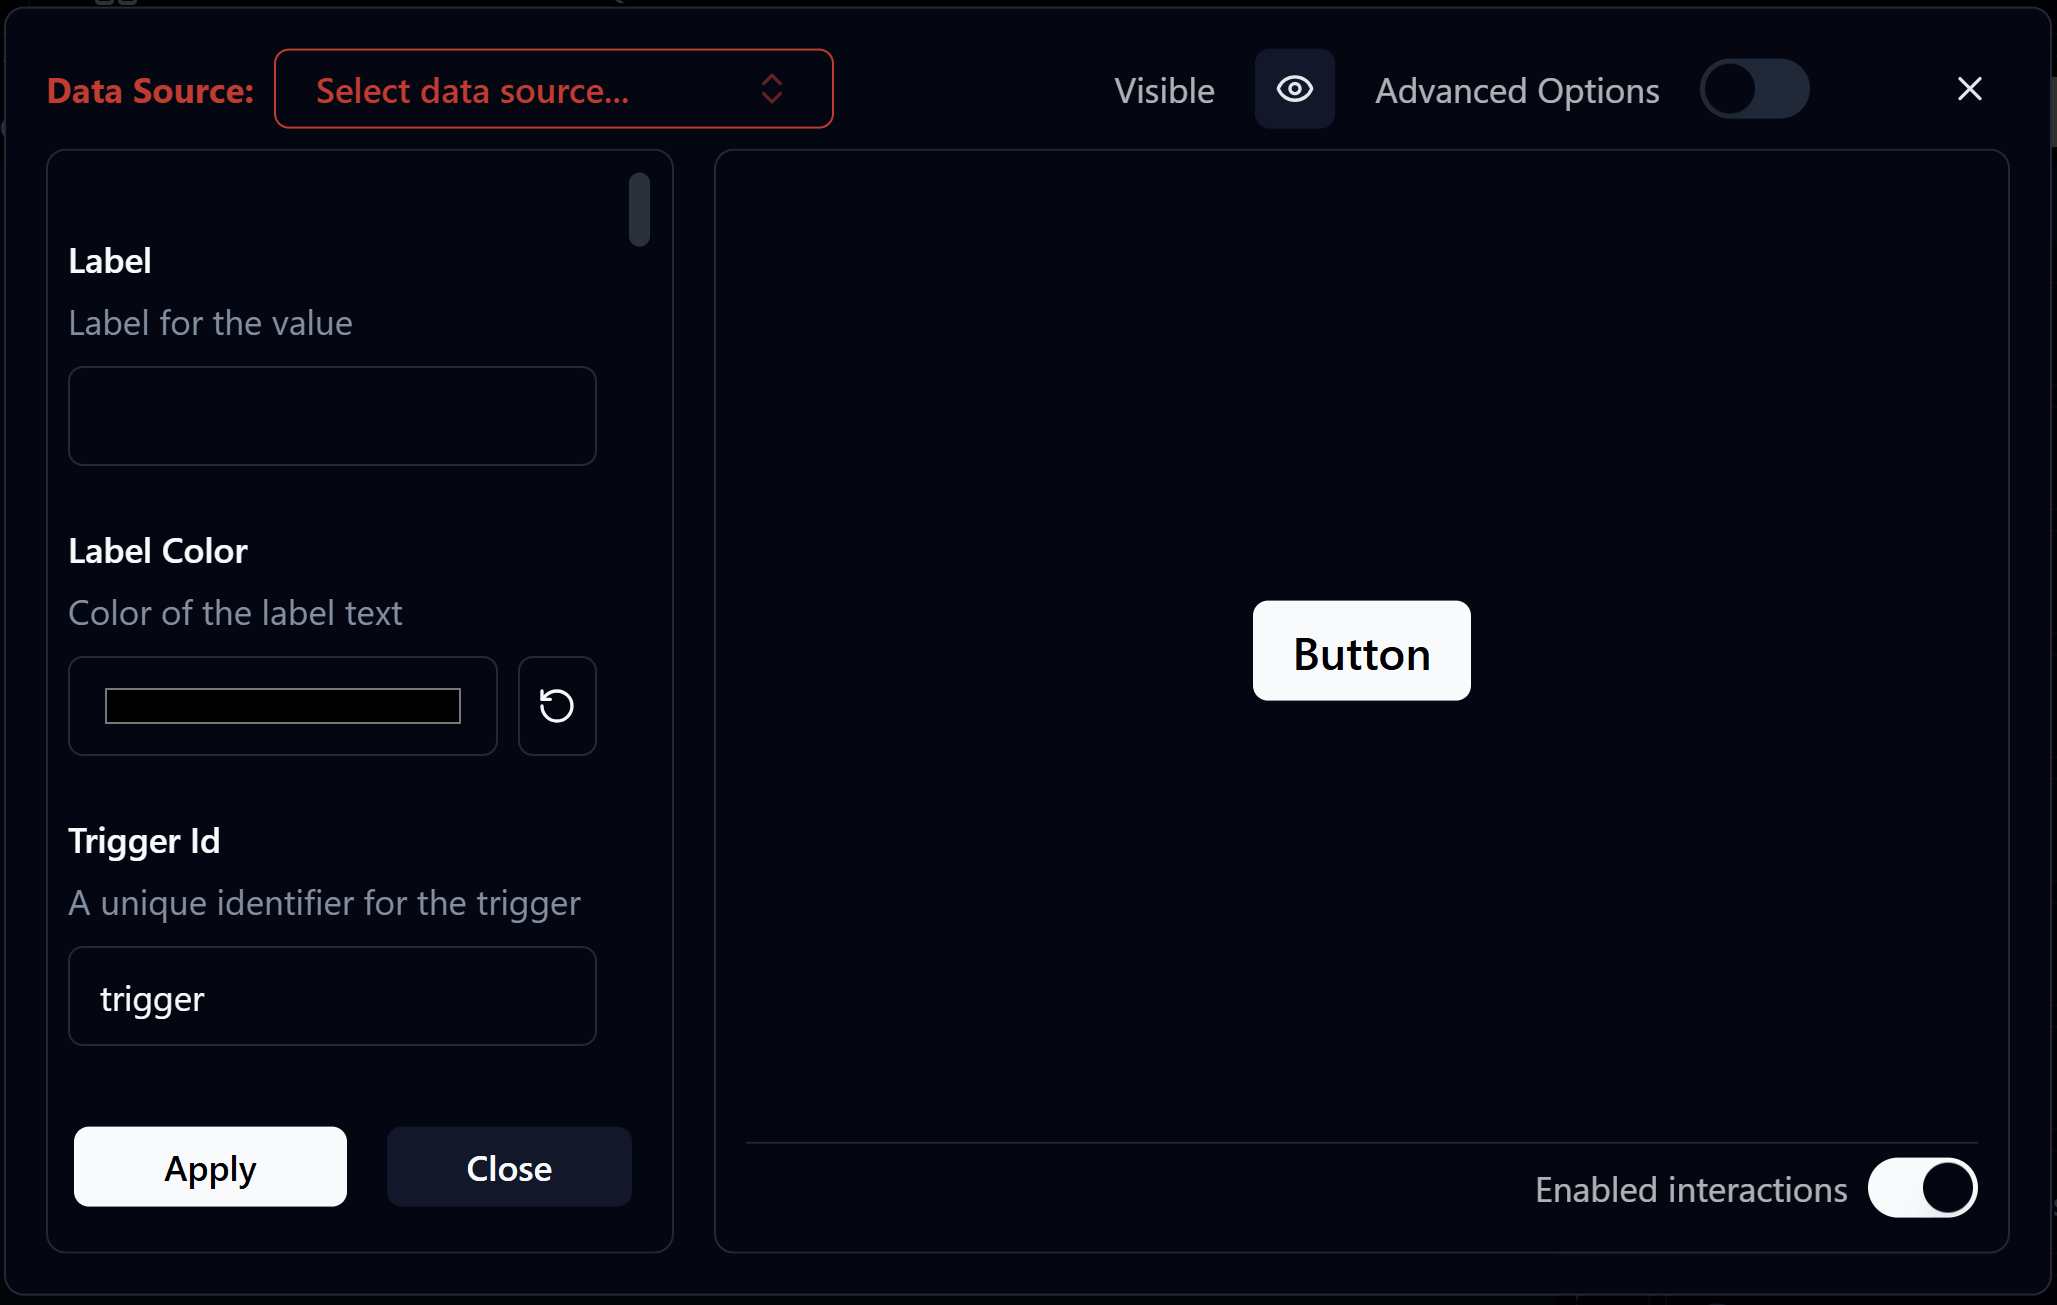
When you click on the widget options button, a dialog will open with different configuration options for the widget.
On the top of the dialog from left to right:
- Data Source Selector: A dropdown to select the data source for the widget. The available data sources will depend on the nodes and data (e.g. variable, database table) you have in your flow. Some widgets may not require a data source. When the widget requires a data source and there is no link to it, the text and the select box will be highlighted in red.
- Visible Toggle: Only some widgets have this option. Click to toggle the visibility of the widget on the dashboard.
- : the widget is hidden in view mode, but you can still see the widget in edit mode.
- : the widget is visible in all modes.
- Advanced Mode Toggle: If toggled, it gives you more options to have more control over the widget's behavior. Click on the toggle to switch between basic and advanced mode, default is basic mode.
- Close Button: Click to close the options dialog. Make sure to click
Applybefore clicking this button to save any changes you made.
Main section:
- Configuration Options: The options to configure the widget, which will vary depending on the type of the widget. Make sure to click
Applyafter making changes to save the changes.- Apply: Click to save the changes you made to the configuration. If the configuration is:
- Valid: The changes will be saved and applied to the widget.
- Invalid: An error message will be shown indicating what is wrong with the configuration, and the changes will not be saved until the issues are resolved.
- Apply: Click to save the changes you made to the configuration. If the configuration is:
- Preview: Widget preview based on the current configuration, which can help you understand how the widget will look like with the current configuration and make adjustments accordingly.
- Enabled Interactions Toggle: If toggled, it allows you to enable interactions on the widget, such as clicking, hovering, etc., and configure the actions to be taken when the interactions are triggered. Click on the toggle to enable or disable interactions on the widget.
Responsive Layout
The dashboard layout is responsive, which means that the widgets will automatically adjust their size and position based on the screen size and the number of widgets on the dashboard. You can also manually resize and rearrange the widgets to create a custom layout that works best for you.
Note
The auto-adjustment of the layout may not always work perfectly. You may want to zoom in and out (using Ctrl + Scroll or Cmd + Scroll on Mac) to see the layout better and make adjustments to the widget size and position to make it look better for the screen size you like.
Save the Dashboard Layout
After you have customized your dashboard layout, make sure to save your project to keep the changes. To save the project:
- Click on the button in the top-left corner of the app to open the main menu, or use
Ctrl + S(orCmd + Son Mac). - Click on
Save Project As..., or useCtrl + Shift + S(orCmd + Shift + Son Mac) to save the project with a new name- Navigate to the folder where you want to save the project, enter a new name for the project, and click
Save.
- Navigate to the folder where you want to save the project, enter a new name for the project, and click
- Save as is a good way to keep the original project intact and have a new project with the modifications you just made.